Instructions for building an Alaia
skip to step 5 if you bought a blank. . .
Step 1 . ..Drawing the planshape
Once the planshape has been drawn with pencil on some hardboard or construction paper, cut out the shape and carefully fair the curves.
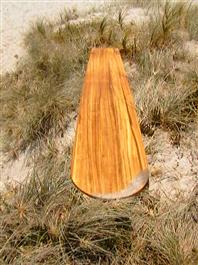
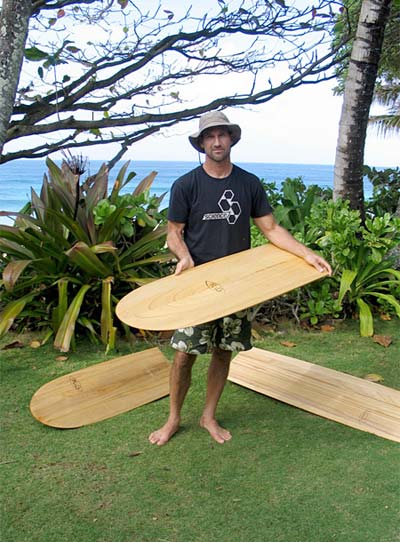
An Alaia has a round circular nose and a square tail.
Step 2. . . Preparing the worksurface
A flat table or floor is needed for construction of the flat panel which will make up the Alaia surfboard.
On the flat worksurface, mark the surfboard planshape, using the planshape template.
Next, cover the worksurface with clear sheet plastic, and tape it down on the edges to hold it in place. This sheet plastic prevents your work from gluing itself to the work surface
The worksurface is now ready to use.
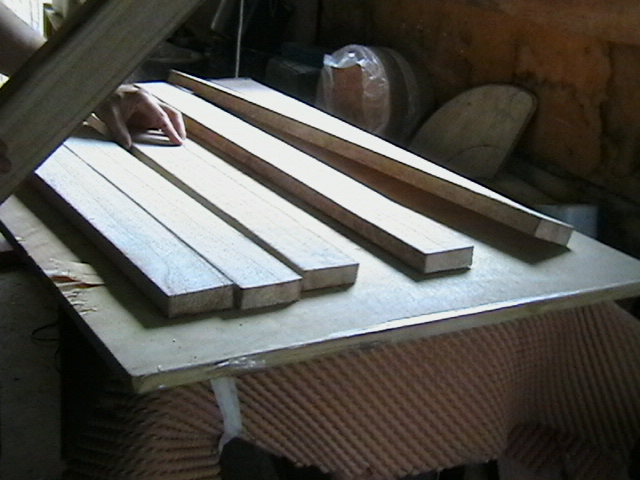
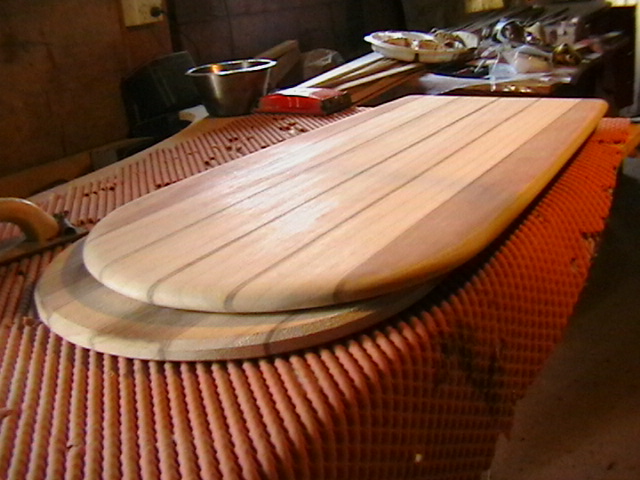
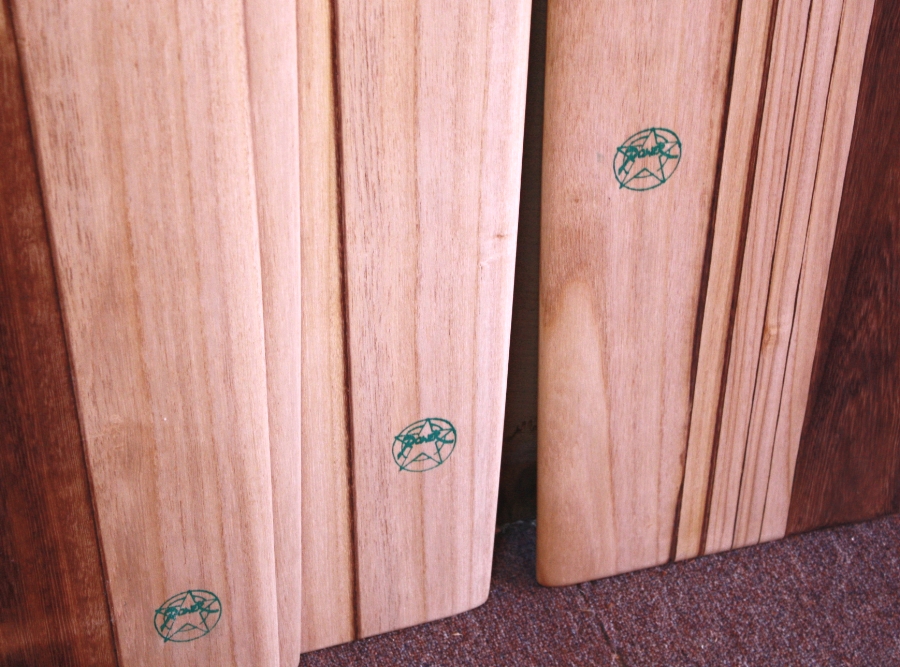
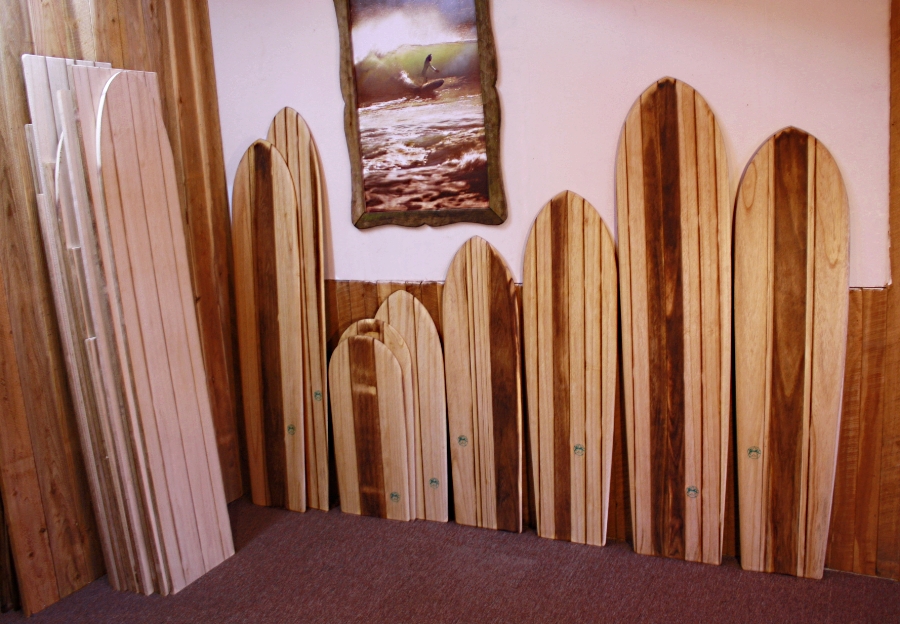
Step 3 . . .Edge gluing the planks
Mill or buy planking stock, 1/2 to 1and1/2 inch thick, and ideally slightly longer than the surfboard, in order to avoid slash joints in the planking. These planks can be of any width, narrow planks require more gluing work than wide planks. We prefer bandsawn planks as the glue joins are stronger.
Lay the planks out on the table in the position in which they will be glued, trimming the ends 1 inch outside the planshape line, then number them and stack them to one side.
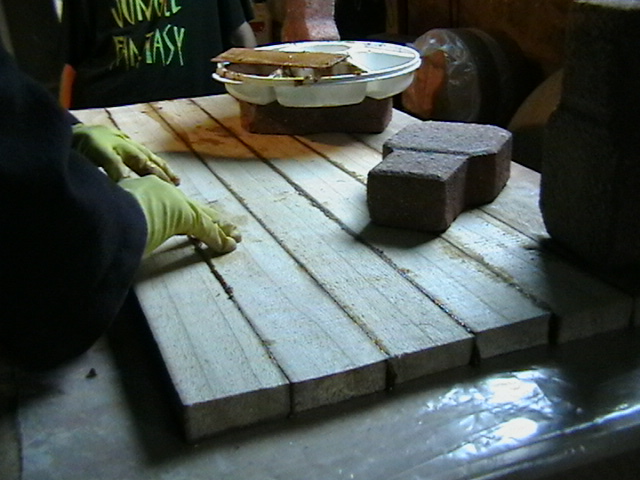
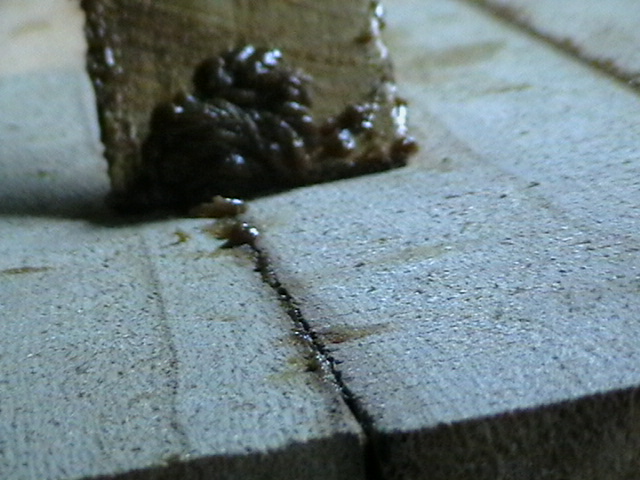
Now, starting with the centre plank , apply thickened epoxy to the edges with a spatula, and squeeze the adjacent planks together, until glue squeezes out of the join. Do not use excessive clamping force which will squeeze all your glue out and starve your joint, just hold the planks in place with some bricks or other weights. Scrape the excess squeeze out with a scraper, and continue until all the planks are glued together. You can glue your entire Alaia in one go, but we usually take two glueing sessions to do the job. (One side at a time)
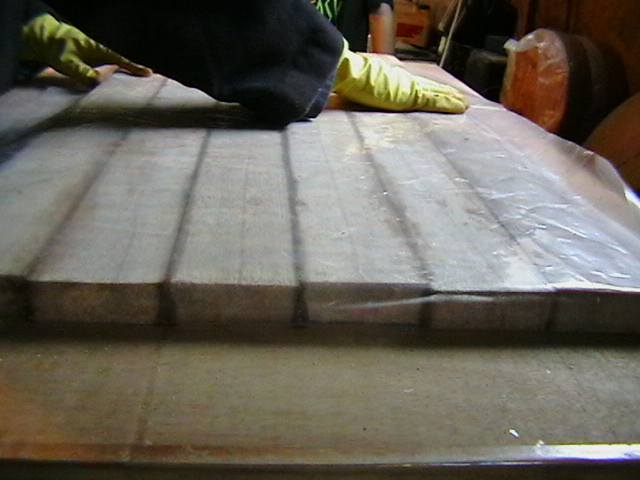
Work from the centre out towards the sides, keeping the planks in place with bricks ( lay sheet plastic between the planks and the bricks as you go to prevent them sticking together,. . . the easiest way to do this is to start with neatly rolled piece of plastic sheet which is unrolled as you need it)
Step 4. . .Sanding the panel.
Sand off any excess glue.
Ignore the above steps if you have bought one of the olosurfer blanks and start here!
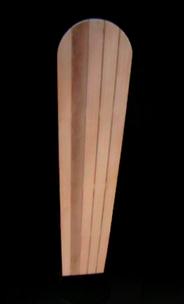
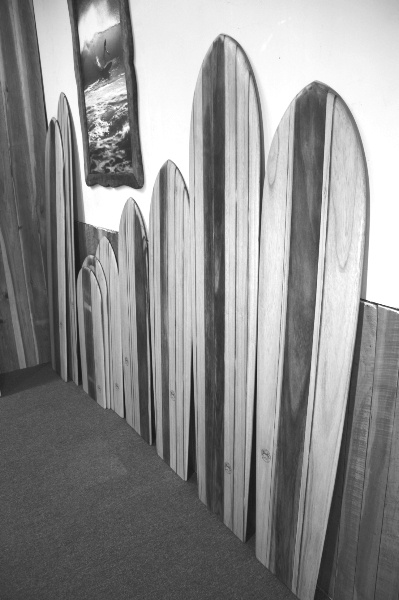
Step 5. . .Cutting out the blank
The board must now be cut out to the correct planshape outline. Use the planshape to mark the curves on the board, and then cut it out with a sharp handsaw. It is very important that the cut is at right angles to the deck at all times. To ensure that this is the case, use a saw with plenty of set on the blade so that the blade is free to move in the saw cut. If the blade is tight in the saw cut, it will wander as you cut the curve, and the bottom of the saw blade is likely to cut inside your planshape curve. Don't let this happen, as it is very hard to fix.
Finish the planshape carefully with rasps and sandpaper, using a square to keep the rail plumb.
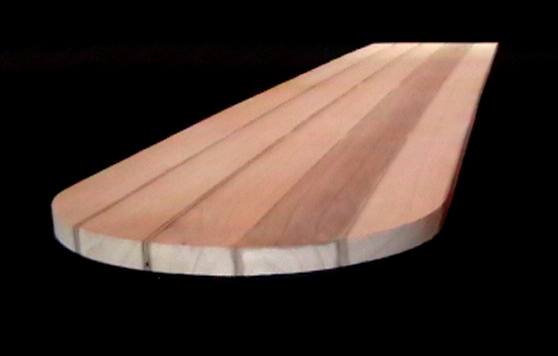
Step 6. . . Shaping the rail
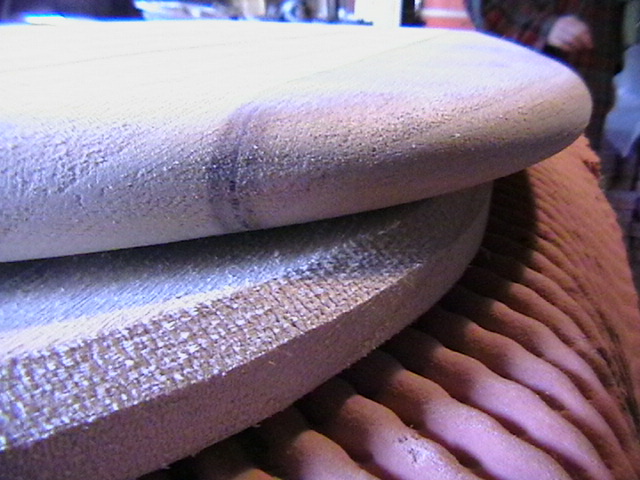
Sand with 40 grit accurately up to the marks, making sure that the blank is straight and fair. Remove the remaining bumps by smoothing them into the deck first and turning the small round rail last of all.
The tail is left relatively vertical compared to the rail.
There may be slight differences in density in the wood which will make it difficult to get a fair rail. Make good use of a sharp finishing rasp (This is a rasp which has this pattern: (((((( on it's face) and 'nip off' any bumps. Sandpaper will tend to accentuate bumps by removing soft grain, so a rasp is a better solution.
Step7. . . Finishing
To
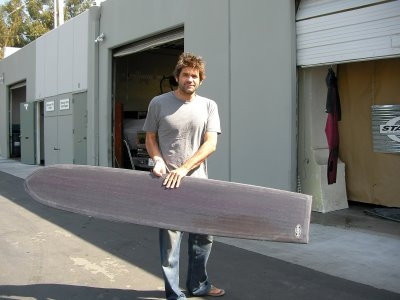
finish the board, it is not necessary to 'glass' in the usual way,( although it can be done). There are many ways to finish the board, including low tech methods like house paint, or linseed oil, or spar varnish, but for the best results we recommend a resin coating be applied. The same epoxy resin used for the laminating can be used to coat the board, only *no* glue powder is added and it can be applied with a brush
, a roller, or a squeegee.
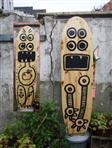
Art work can be applied by adding zinc oxide or iron oxide to the resin, or by applying pencil or waterproof marker before applying resin. Perfect edges can be made using masking tape to mask off areas.
Note:
We suggest that you are not tempted by all those lovely colours at the car painters supply shop, because these are full of very volatile carcinogens, which are hard to avoid breathing in or getting on your skin. These fumes will even react with your sweat.
Alternatively sand using 80 grit, and then 120 grit until fully satisfied with the finish. Apply coconut or linseed oil.. . . and skip step 8.
Step 8. . .Wet sanding the Resin finish
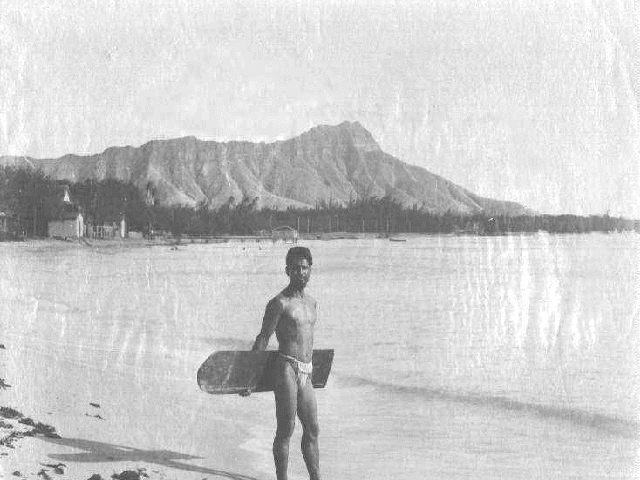
Sand by hand, to 800 grit or finer to get a gloss on the resin. apply car polish or coconut oil to protect the resin from UV, keeping it polished will make your board last. Traditional alaia's were used without wax, but kept oiled with Coconut oil.
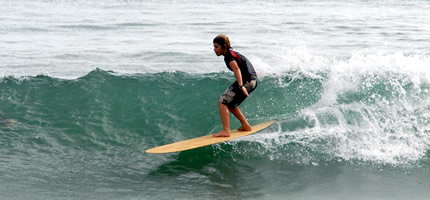
Step 9. . .Go surfing